Planning Your Home Addition: Timeline and Budget Considerations
Adding on to your home is a major decision—one that brings excitement, rooms to grow into, and extra value. But before swinging the hammer, it’s crucial to align your timeline, budget, and vision. Partnering with a trusted renovator ensures your plans remain realistic, cost-effective, and thoughtfully staged. This comprehensive guide walks you through each step—from initial planning to final touches—so you can confidently plan your home addition without unexpected delays or costs.
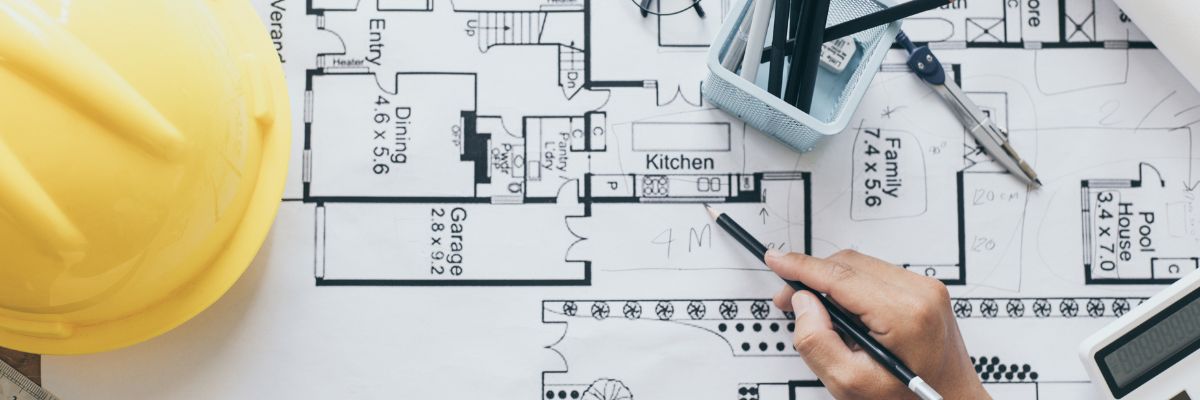
1. Define Your Goals and Scope
Are you dreaming of a new family room, a second-storey bedroom, a garden-facing sunroom, or a garage suite? Begin by clarifying:
- Purpose: Extra living space, home office, rental suite, mudroom, or expanded kitchen?
- Size: How many square feet or bedrooms will you add?
- Style: Should the new structure match your home’s exterior, or introduce a modern contrast?
- Connection: Is it internal (through existing walls) or accessed via a new side or rear entry?
Clarifying your vision helps guide design decisions, cost estimates, and timing. It’s also essential for zoning evaluation and permit applications.
2. Understand Municipal Approvals and Permit Timelines
Before construction can begin, your project must pass zoning review and municipal permits. Typical steps include:
- Zone Compliance Check: Confirms setbacks, lot coverage, height/footprint allowances—usually takes 1–3 weeks.
- Minor Variance (if required): Needed for deviations such as reduced setbacks or oversized addition; expect 8–12 weeks plus a hearing date.
- Building Permit Submission: Includes drawings, structural calculations, energy compliance forms; review and approval usually take 4–8 weeks.
Overall, simple additions can receive permits in 8–12 weeks, while complex or heritage-related additions could stretch to 4–6 months. Working with Amsted’s permitting team helps streamline this process and reduce delays.
3. Design and Budget Phases
3.1 Schematic Design (2–4 weeks)
- Initial ideas are sketched—bubble diagrams, orientation, room relationships.
- Amsted works with engineers to assess structural implications and site feasibility.
3.2 Design Development (4–6 weeks)
- Detailed floor plans, elevations, and material selections are finalized.
- Preliminary budget is refined with allowances for cabinetry, finishes, and systems.
- Budget–scope alignment ensures your design meets your investment comfort level.
3.3 Detailed Documentation & Engineering (3–5 weeks)
- Site/civil plans, structural plans, HVAC/plumbing/electrical drawings are completed for permit submission.
- Amsted provides a comprehensive cost estimate based on construction documents.
Total design timeframe: 9–15 weeks, running alongside the permitting process. Early budgeting allows you to make trade‑offs (e.g., simplifying rooflines, choosing cost-effective siding) before construction begins.
4. Preparing Your Budget
A well-constructed budget includes:
- Fixed costs: Permit fees, engineering, design charts (~10–15% of construction cost).
- Construction costs: Site prep, foundation, framing, systems, interior finishes, exterior cladding.
- Contingency: 5–10% of total budget to cover unforeseen costs like structural surprises or material delays.
- Soft costs: Temporary living arrangements, landscaping, furnishings.
Per-square-foot estimates in Ontario range from CAD 200–350 for basic additions, CAD 350–500+ for high-end or complex builds. Amsted’s transparent line-by-line estimates let you see where costs are going—and where savings can be found.
5. Pre-Construction and Procurement
Once permits are in place, Amsted initiates pre-construction planning:
- Schedule coordination: Trade scheduling, material deliveries, staging areas.
- Material lead times: Long-lead items like windows, roofing, specialty doors should be ordered early.
- Site prep: Tree removal, grading, temporary fencing, debris management.
Typical duration: 2–4 weeks depending on site readiness and material procurement timelines.
6. Construction Timeline
Construction is typically broken into sequential phases:
- Demolition & Site Prep (1–2 weeks): Clear the footprint and prepare the site for foundation.
- Foundations & Slab (2–4 weeks): Excavate, pour foundation walls and slabs, and waterproof.
- Framing & Sheathing (2–3 weeks): Build walls, floors, roof structure, and close-in the addition.
- Rough-ins (3–4 weeks): Mechanical, electrical, plumbing lightly roughed in; inspections follow.
- Insulation & Drywall (2–3 weeks): Energy-code insulation installed, drywall hung and finished.
- Interior Finishes (4–6 weeks): Cabinets, millwork, flooring, trim, fixtures, painting.
- Exterior Finishes (2–4 weeks): Roofing, cladding, exterior trim, gutters, landscaping hardscaping.
- Final Inspections & Punch List (1–2 weeks): Final municipal inspections and walkthrough to resolve minor issues.
Total construction timeline: 16–28 weeks (4–7 months), depending on complexity, weather conditions, material availability, and construction scheduling.
7. Living Through Construction
Understanding how your home functionally changes during construction helps ensure comfort:
- Access: Interior connections may be closed temporarily; external doors can be rerouted.
- Utilities: Temporary shut-offs may be needed; Amsted’s team coordinates in advance to limit downtime.
- Containment: Dust-sealed areas, temporary barriers, and debris management maintain livable zones.
Frequent check-ins—site visits, photo updates, scheduling walkarounds—help you stay informed and reassured.
8. Final Deliverables and Warranty
At completion, Amsted provides:
- Occupancy certificate if applicable, confirming permit compliance.
- Owner package: Manuals, warranties, maintenance schedules.
- Post-occupancy check-in 30–90 days after completion to address any settlement or minor adjustments.
A well-planned budget and timeline minimizes stress and maximizes satisfaction—especially with ongoing communication and clarity. Additions done right feel like natural extensions of your home, ready to support you for years to come. Learn more at like https://www.amsted.ca/
9. Tips to Keep on Track
- Start early: Begin design and zoning checks before thinking of construction seasons.
- Keep flexibility: Expect scheduling adjustments due to weather or supply delays.
- Communicate often: Weekly updates and photo reports maintain transparency and trust.
- Track changes: Written change-order process helps manage budget adjustments and expectations.
Your Addition Journey Begins Here
Your vision deserves a strategic plan. By carefully staging approvals, budgeting thoughtfully, and scheduling with intention—combined with Amsted’s professional guidance—your home addition becomes a rewarding, well-executed investment. From first sketches to final walkthrough, you’ll end with a seamless, functional, and beautiful extension that fits your family’s future.
Ready for the Next Step?
Start with a consultation and site assessment—get an initial feasibility check and ballpark estimate. Then build your timeline and budget roadmap with confidence, knowing you’ll be supported at every stage.